|
|
|
Technical Procedure
1992-1994 Eurovan Instrument Cluster Intermittent Water Temperature and Fuel gauge problem.
Author: Roger G. Moore
Problem:
The 1992/ 1993/ 1994 Eurovan Transporters had a defect in the Instrument Cluster that cause the Fuel and Water Temperature gauge to work intermittently or to not work properly. This Procedure will remedy this defect and return the Cluster to normal.Remedy:
The Instrument Cluster is a circuit board that has IC chips and integrated circuits throughout that card. On the Voltage regulator there are 3 cold soldier joints. They must be heated up and soldier added to these 3 connections. They are under the tachometer and at the 2 o’clock position. Once this is done the cluster will operate normally. These joints can be checked by heating them up, and seeing if the soldier disappears (melts and flows to the other side of the card). On mine once I heated up the 3 connections I saw the soldier flow away which left only the pin in the hole, so I added more soldier to each pin and checked the other connections around this area. All the other connection did not do this, they heated up and soldier just bubbled up and I removed the Iron. I hope you find this to be very through.Tools needed:
1. ½" Metric socket set with breaker bar that has a 24mm socket
2. Phillips #2 screwdriver
3. Small Flat Tip screwdriver
4. Soldiering Iron
5. Flux and soldier
Let take the Instrument Cluster out (Removal).
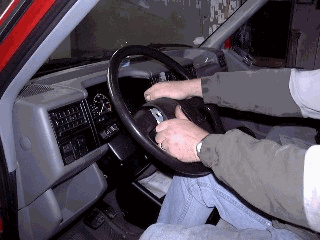
1. Steering Wheel Removal – Remove horn button and wire, use 24mm socket to remove steering wheel nut.
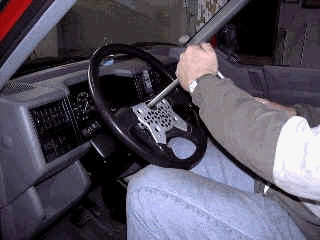
2. Remove cover around steering column, it is held in place by three Phillips head screws on the bottom half.
3. Remove the turn signal and wiper assembly from steering column, there are three flat head/ torx screws on the front in a up-side down triangle position, these are the ones, do not unscrew the silver-ish screw (one toward the middle of the switch).
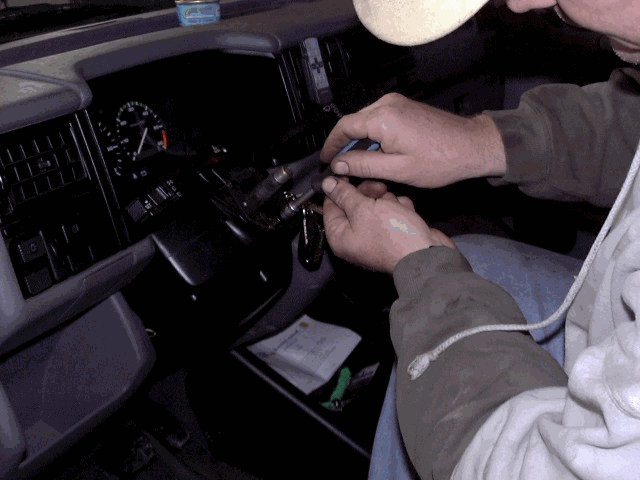
Note: there are 5 different wiring connectors to be removed here, take note were each on goes before removal.

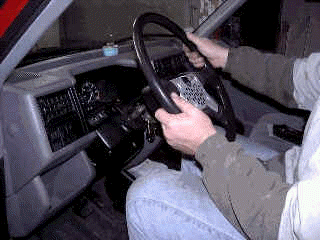
4. Remove the black plastic inside of gauge cave; removing the two top Phillips screws can do this. After removal just tilt the top out and it comes right out.
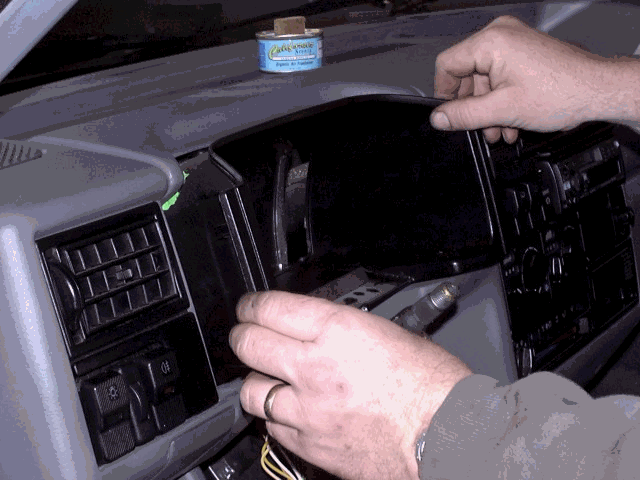
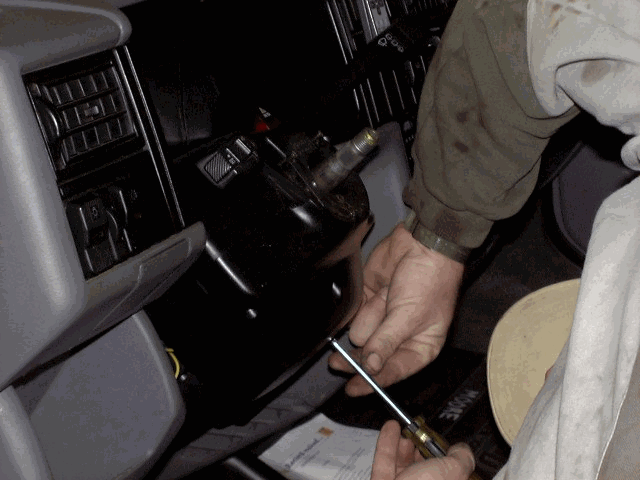
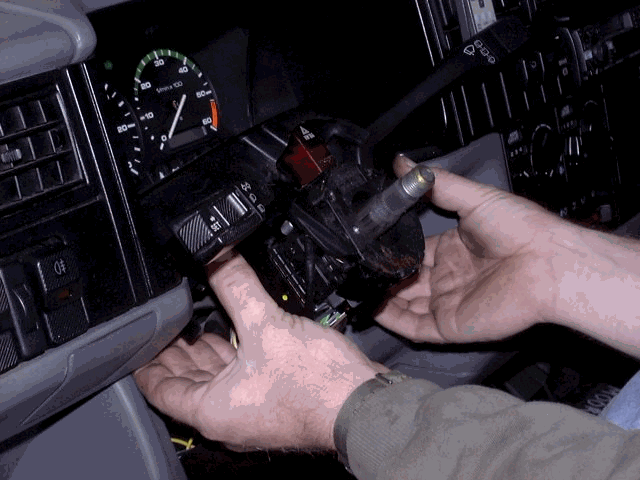
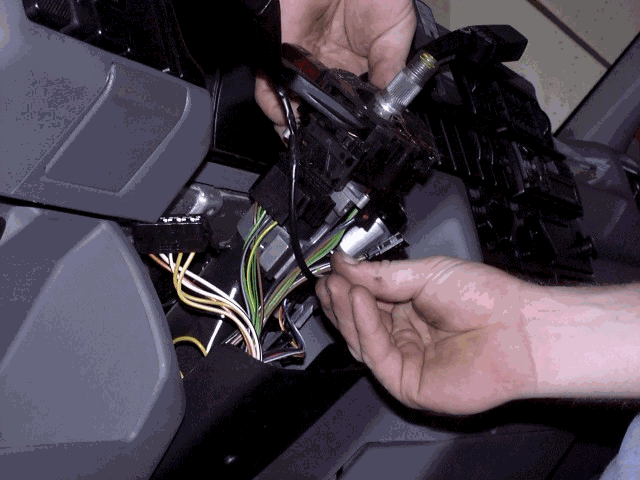
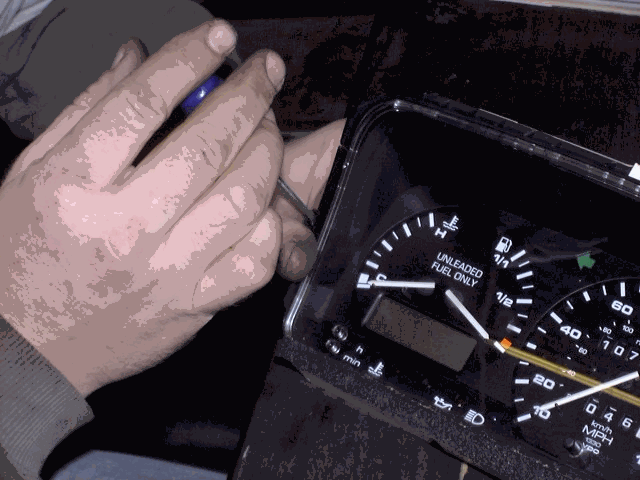
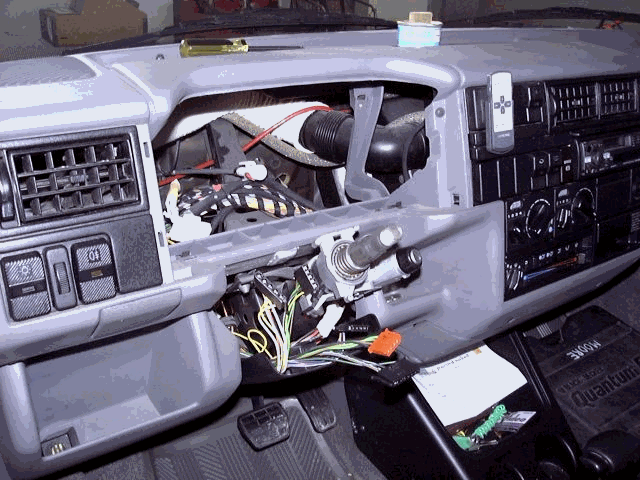
5. Remove the Instrument Cluster Pod. Remove the two screws on either side of Pod that hold it to the dash (right picture). After removal the Pod can be moved outward and then you need to unplug the connector on back and remove the speedometer cable, this is done by releasing the squeeze tabs on the cable connector.
Cluster is out, Now it time for bench work
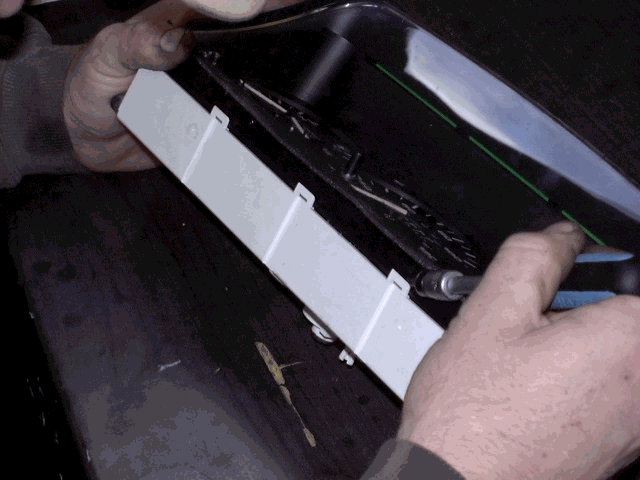
1. Remove the two small Philips screws on either side of the Pod (see left picture), they hold the clear plastic face on, pry up the three tabs on the bottom edge of Pod (right picture) and remove the cover.
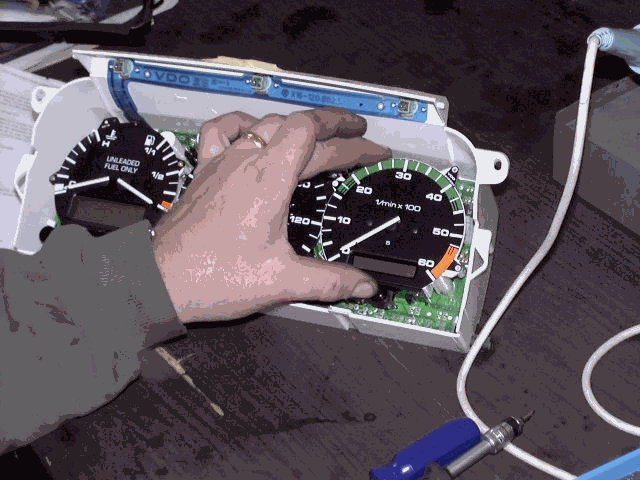
2. Remove the Tachometer that is the right gauge; you do this by gently lifting up and wiggling it off the main circuit card.
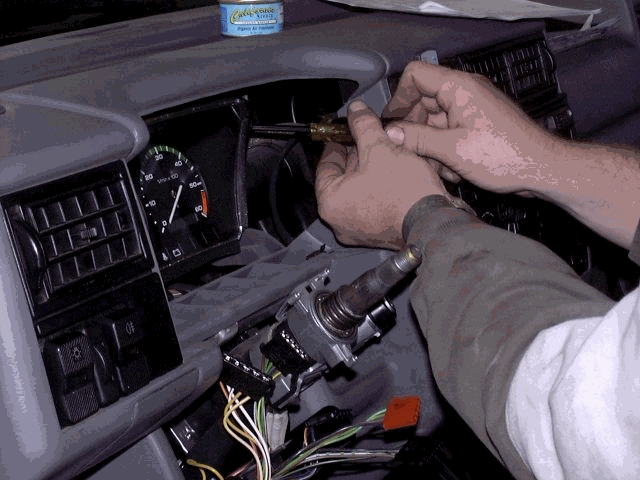
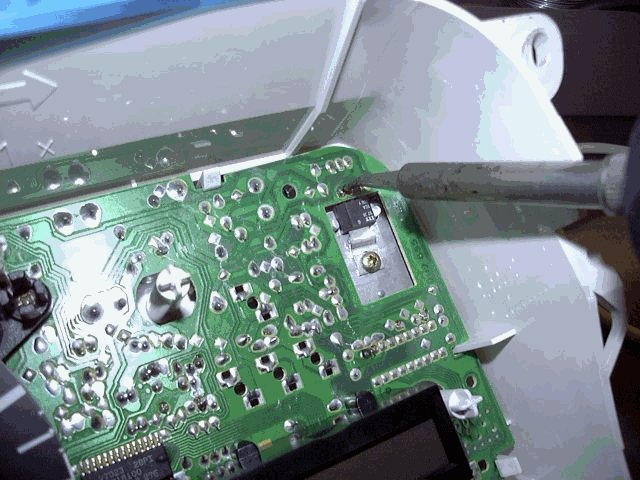
3. Once the Tach is out of the way you must locate some connection at the 2 o’clock position from the center of where the Tach was, find a small IC chip, this is a Voltage regulator, and then right above this is a series of two rows with three pins each. These are the ones you will be soldiering. The bottom row is the problem, apply some Flux and heat these up, watch them dry, they require more soldier. I checked around doing this same thing, apply the Flux and use your iron the heat and see if the joint dries up. I could find anymore only these three. See picture for location.
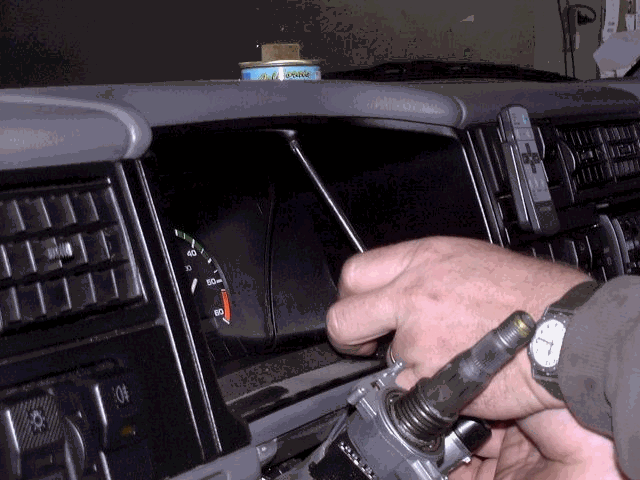
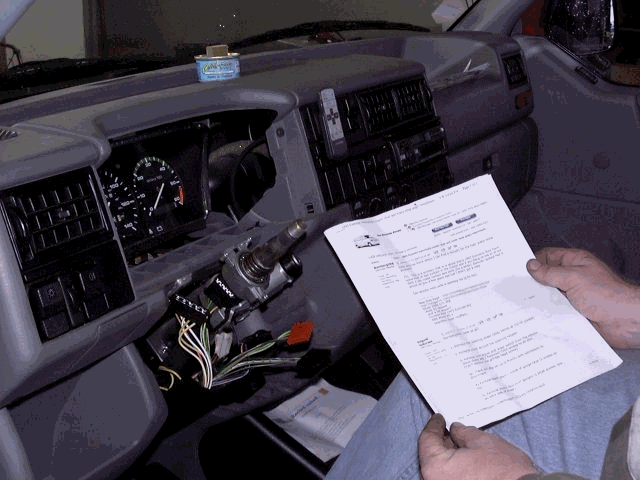
4. Now you need to put it all back together and follow this in reverse order. Once you go back to the T4 you should see something like this.
Thanks goes out to Miguel Indurain for the Instructions on how to do this and VW Vortex were all VW owners can solve problems.