|
| |
Golf and
Jetta IV
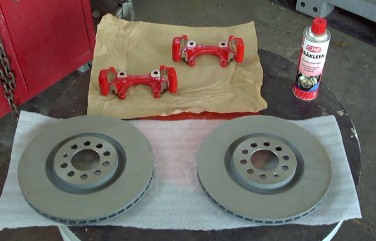
312mm Big Brake Up-grade
Before you begin:
Paint carriers if desired two days prior to installation with caliper paint.
Parts Needed:
Item
Description
Part Number Quantity
312mm Audi Brake
Disc 8L0 615
301 2 EA
312mm Audi Caliper
Carrier 8N0 615
125 2 EA
Tools needed
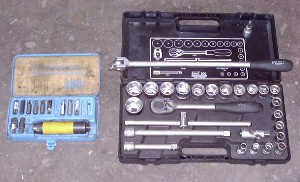
1) 7 mm Hex tool (1/2" socket works best)
2) 1/2" drive socket set (make sure you have
18mm, 19mm)
3) Torque Wrench 110 Nm or 80 ft lb
4) Lock tight, tread lock sealant
5) Anti-seize grease
6) Spray paint
7) Disc brake quiet compound
8) Impact screwdriver set
9) Flat tip number 2 screwdriver
10) Long nosed pliers
11) Brake parts cleaner
12) 1/2" breaker bar
13) large hammer, BFH
14) Rubber mallet or soft faced hammer
15) Wire brush
Lets Do it! Removal
1) First either raise the VW up with a lift or
lift the front end up with a jack and use jack stands.
2) Remove your wheels using the 19mm and breaker
bar or impact wrench (be careful when using air powered tools).
3) Remove the plastic plugs for the alignment
pins and use the 7mm hex tool to remove the alignment pin. Remove the
anti-rattle wires using the flat tip screwdriver and then the caliper saddle and
place it so the brake line does not stretch out and cause damage to inner rubber
tubing.
4) Using the breaker bar, socket wrench, and
18mm socket remove the carrier, remove the two bolts on the bearing
housing holding the carrier.
Notice the tread lock compound on the bolts.
5) Remove the brake disc rotor alignment screw
using the impact screwdriver set. Using a soft faced hammer or rubber
mallet to tap the disc rotor loose. Use the wire brush to clean the
surface of the hub.
6) Clean inside of axel nut area and paint with
sprat paint (do this to prevent rust in this area)
Installation Time!
1) Apply the anti-seize compound on the hub and
clean the new rotors with brake parts cleaner. Install rotor, use
anti-seize on the screw too. Make sure the rotor fits good and flat (this
is why you used the wire brush)
2) Install the caliper carrier to the bearing
housing using the 18mm socket and wrench, apply lock tight or some kind of tread
locking compound to these bolts. Finish off tightening these bolts with
the breaker bar. Make sure these are tight.
3) Apply a thin coat of anti-seize compound on
the milled surfaces of the carrier, install the caliper saddle with pads.
Open up the caliper if needed to make room for the new pads and rotor.
Install the pads using the disc brake compound which secure the pads to the
caliper to prevent pad rattle and squeal. Install the 7mm alignment pins
to the caliper and carrier. No tread lock is needed here and the pins
should not be over tightened, reinstall the plastic plugs to the rubber sleeves.
4) Install the anti-rattle wires to the carrier
and caliper using the long nosed pliers, try not to scratch your paint job.
5) Reinstall the wheels and use torque wrench to
tighten the lug nuts. Set torque wrench to either 110Nm or 80 ft lbs.
6) Lower VW and apply the brakes a few times to
set the calipers to the rotor.
7) Test drive, apply the brakes often to allow
the brakes to heat up and mate with the pads. I use the Autobahn but you
could use any road to do this as long as you get some speed up. Note
please turn off your stereo to listen to any unusual sounds and feel steering
wheel for any vibrations.
8) No weird sounds or vibrations then you are good, go
and play! AutoX or whatever!!!
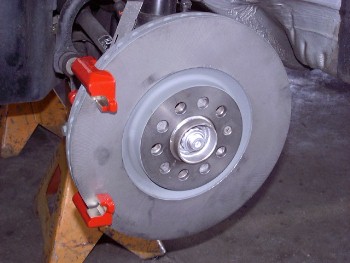
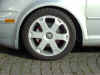
Before
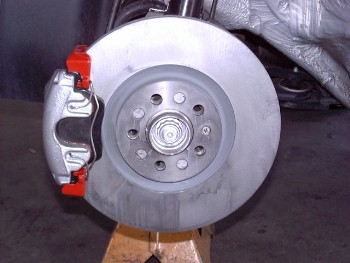
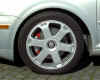
After
|

